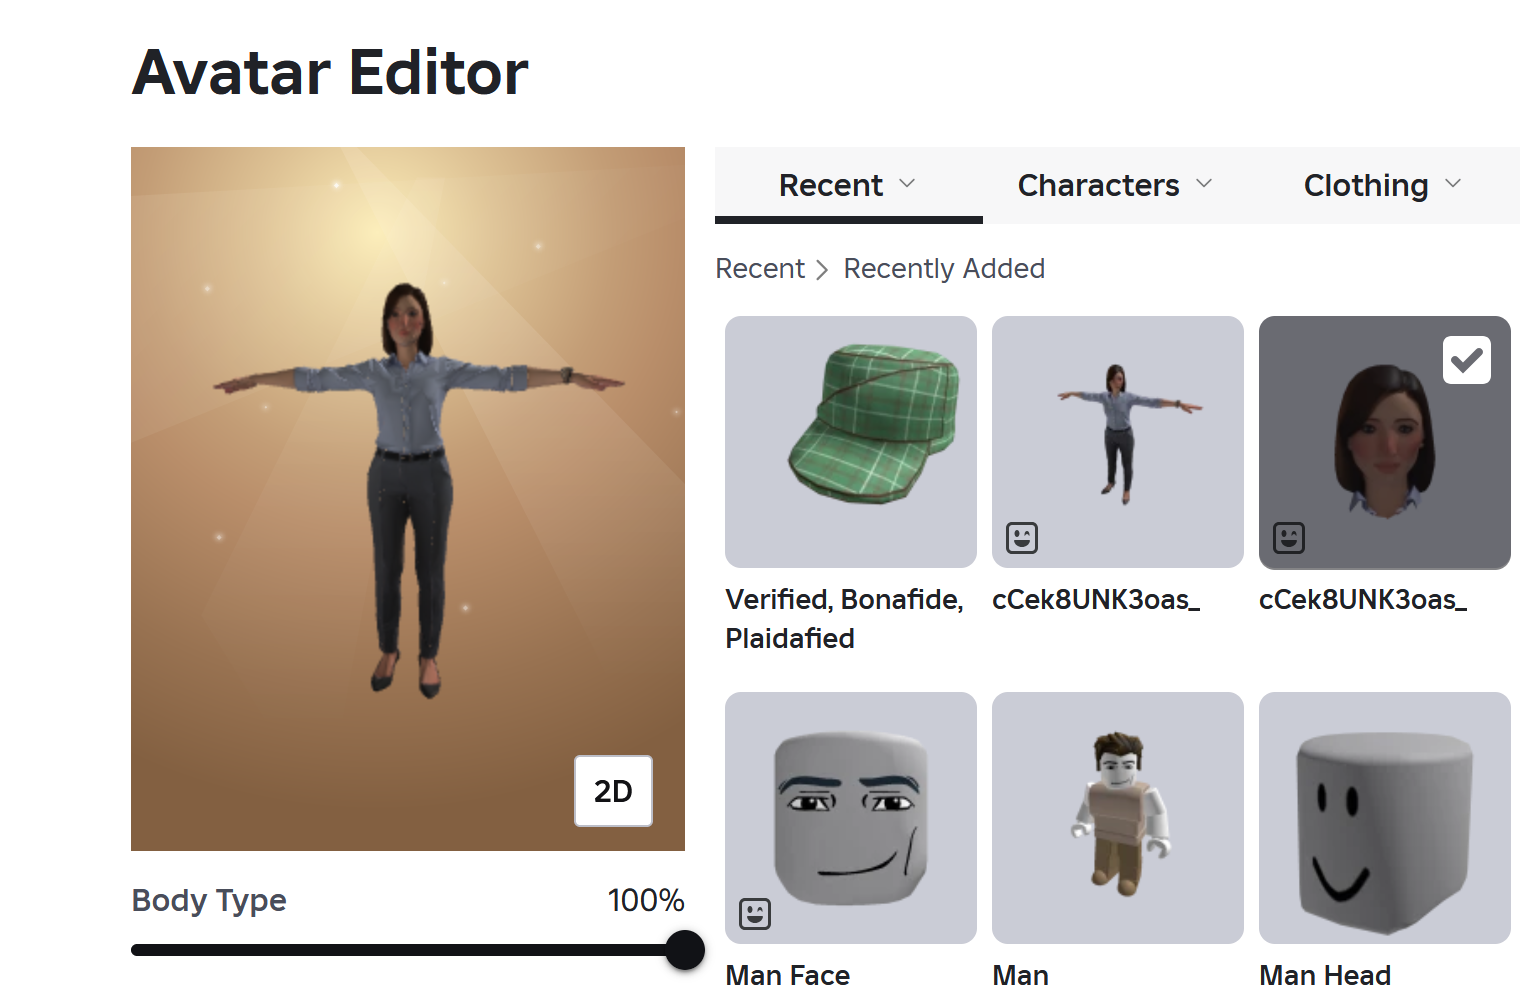
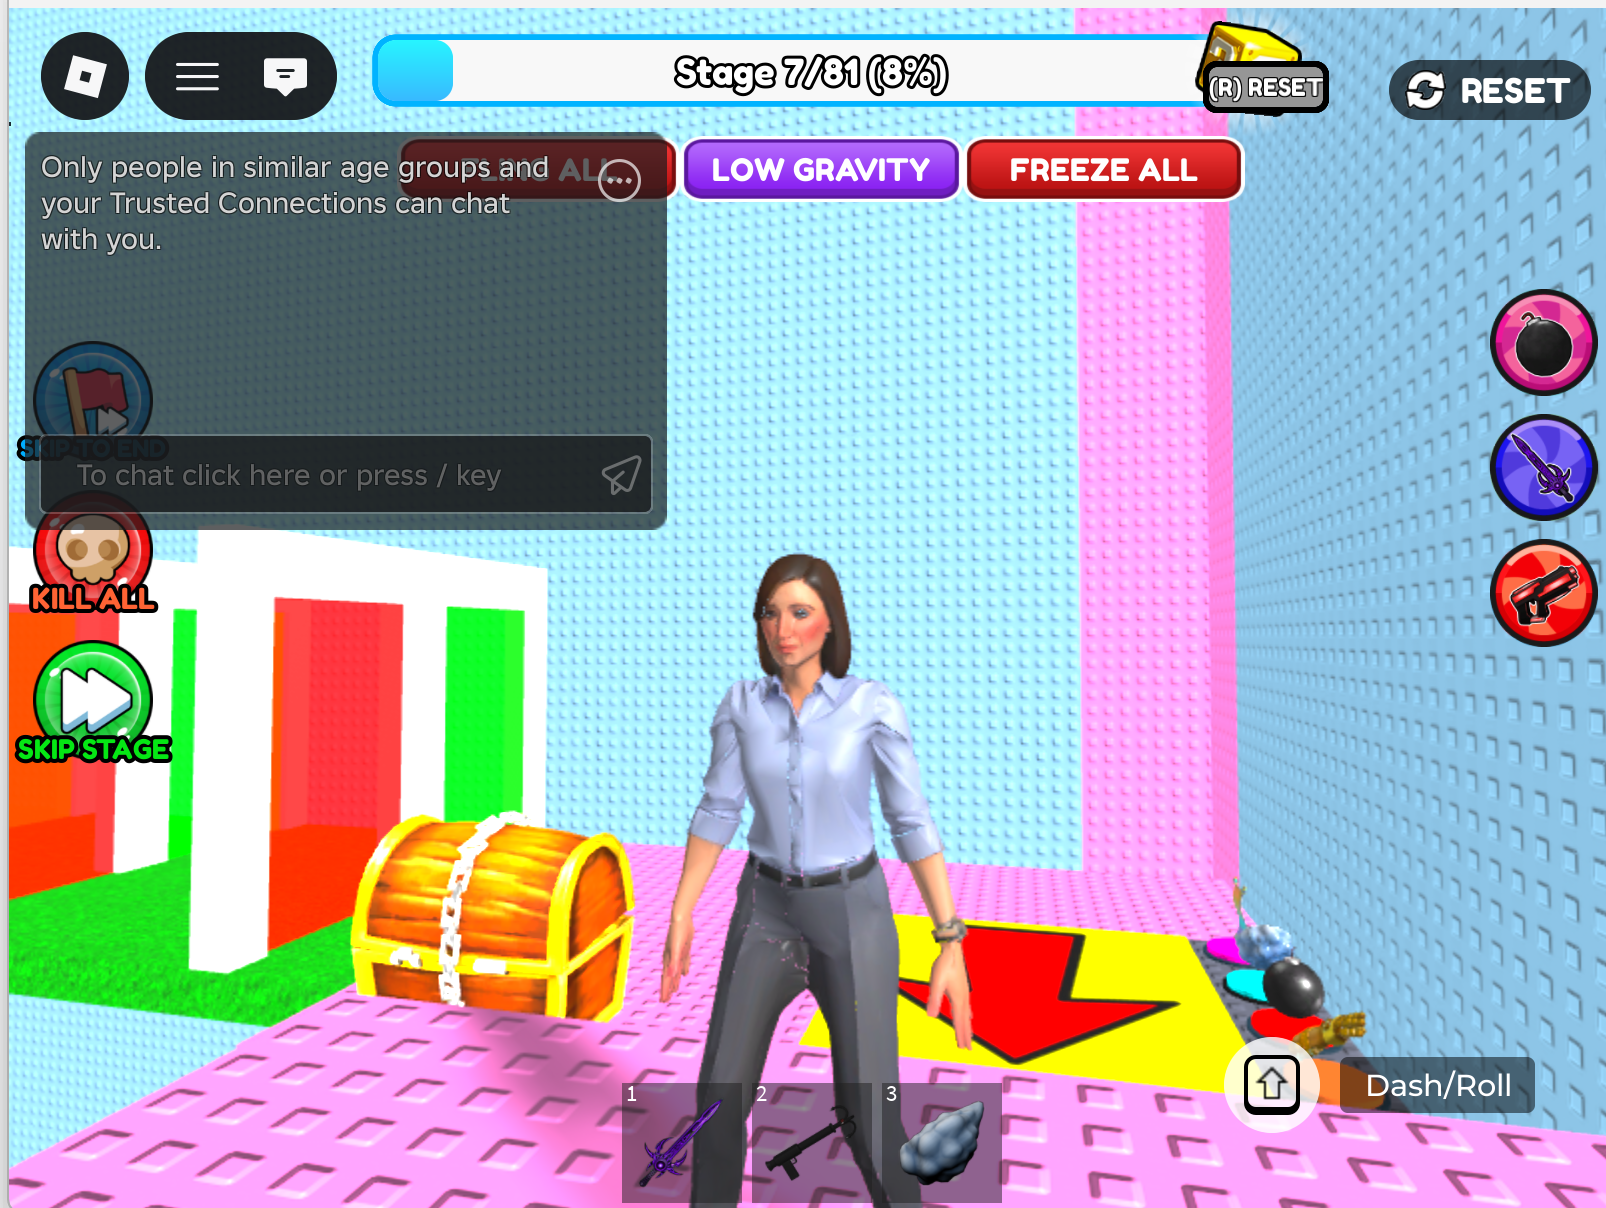
With the addition of Uthana’s new character generation from Image or Text prompt features, paired with our auto-rigging technology, it’s easier than ever to get a 3D generated rigged character into Uthana. This document outlines the next step, how to get the character into Roblox as a playable Avatar.
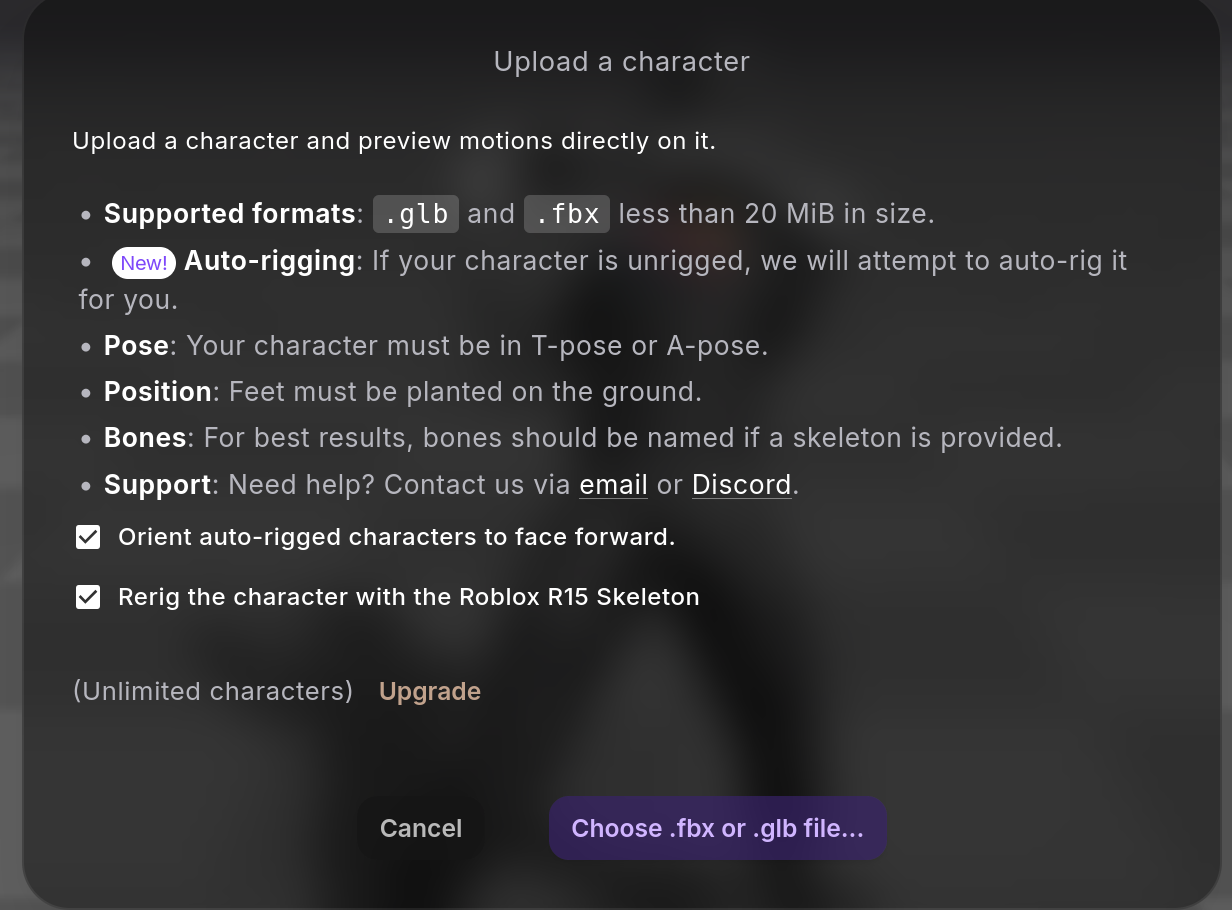
Upload a Character
Upload a 3d created mesh from any 3D model generator, including Uthana. A skeleton is NOT required. Select the Use Roblox Skeleton option.
Upload a 3D mesh via the API. Add the rerig_target=”r15” option.
Download Character
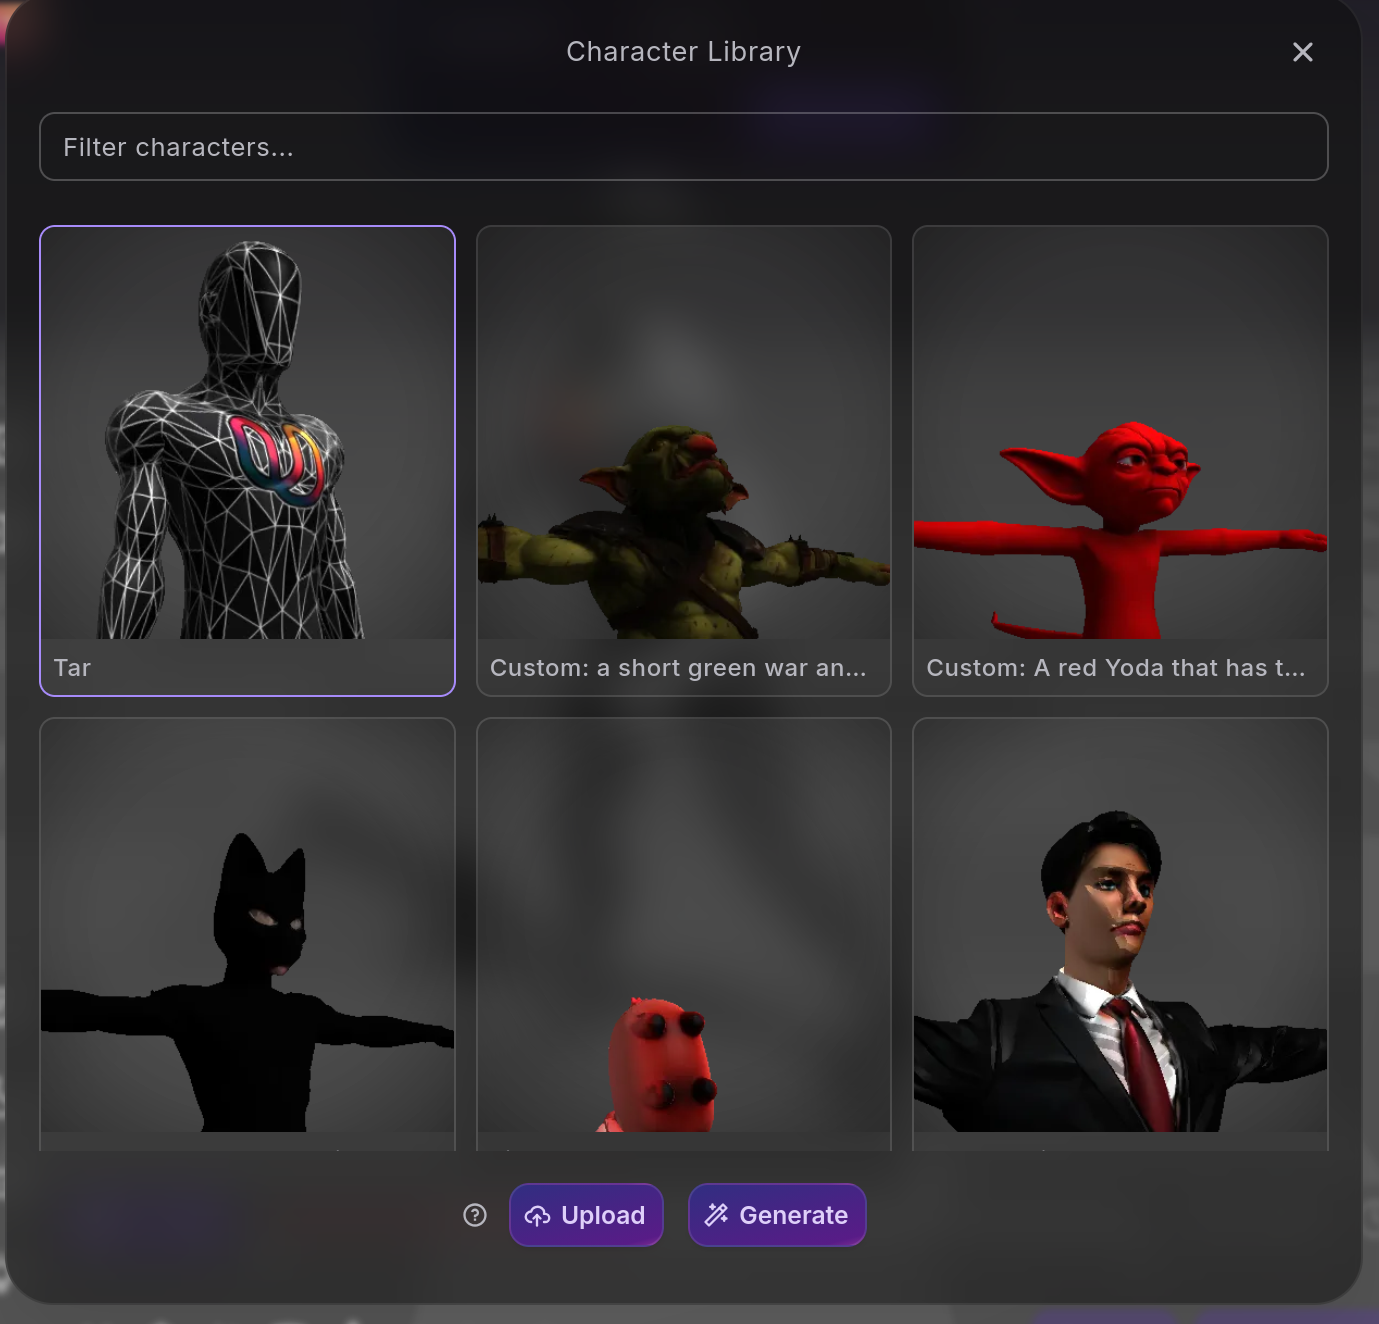
Download the character model using the UI. Click the gear icon in the upper right hand panel to bring up the Character Library.
Roblox has documentation on this workflow. Here's an outline:
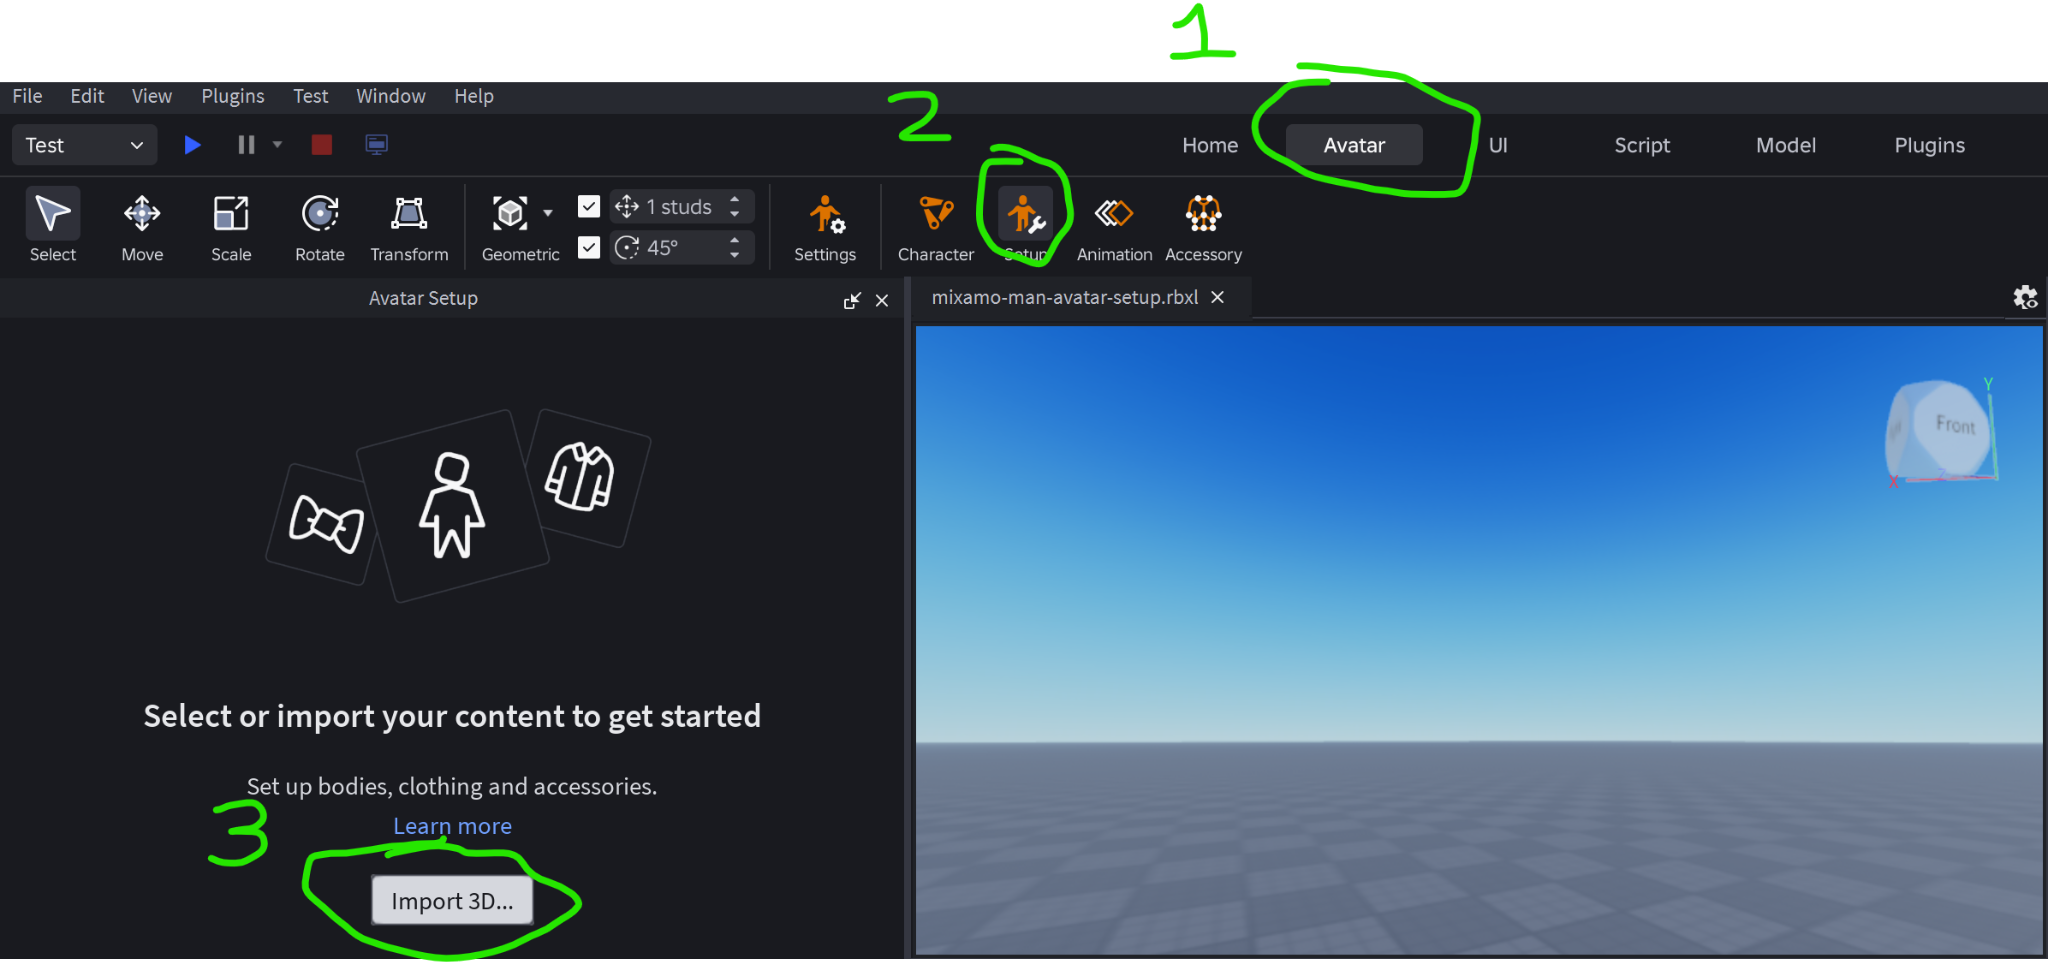
Open Avatar Settings and click the “Import 3D..” button
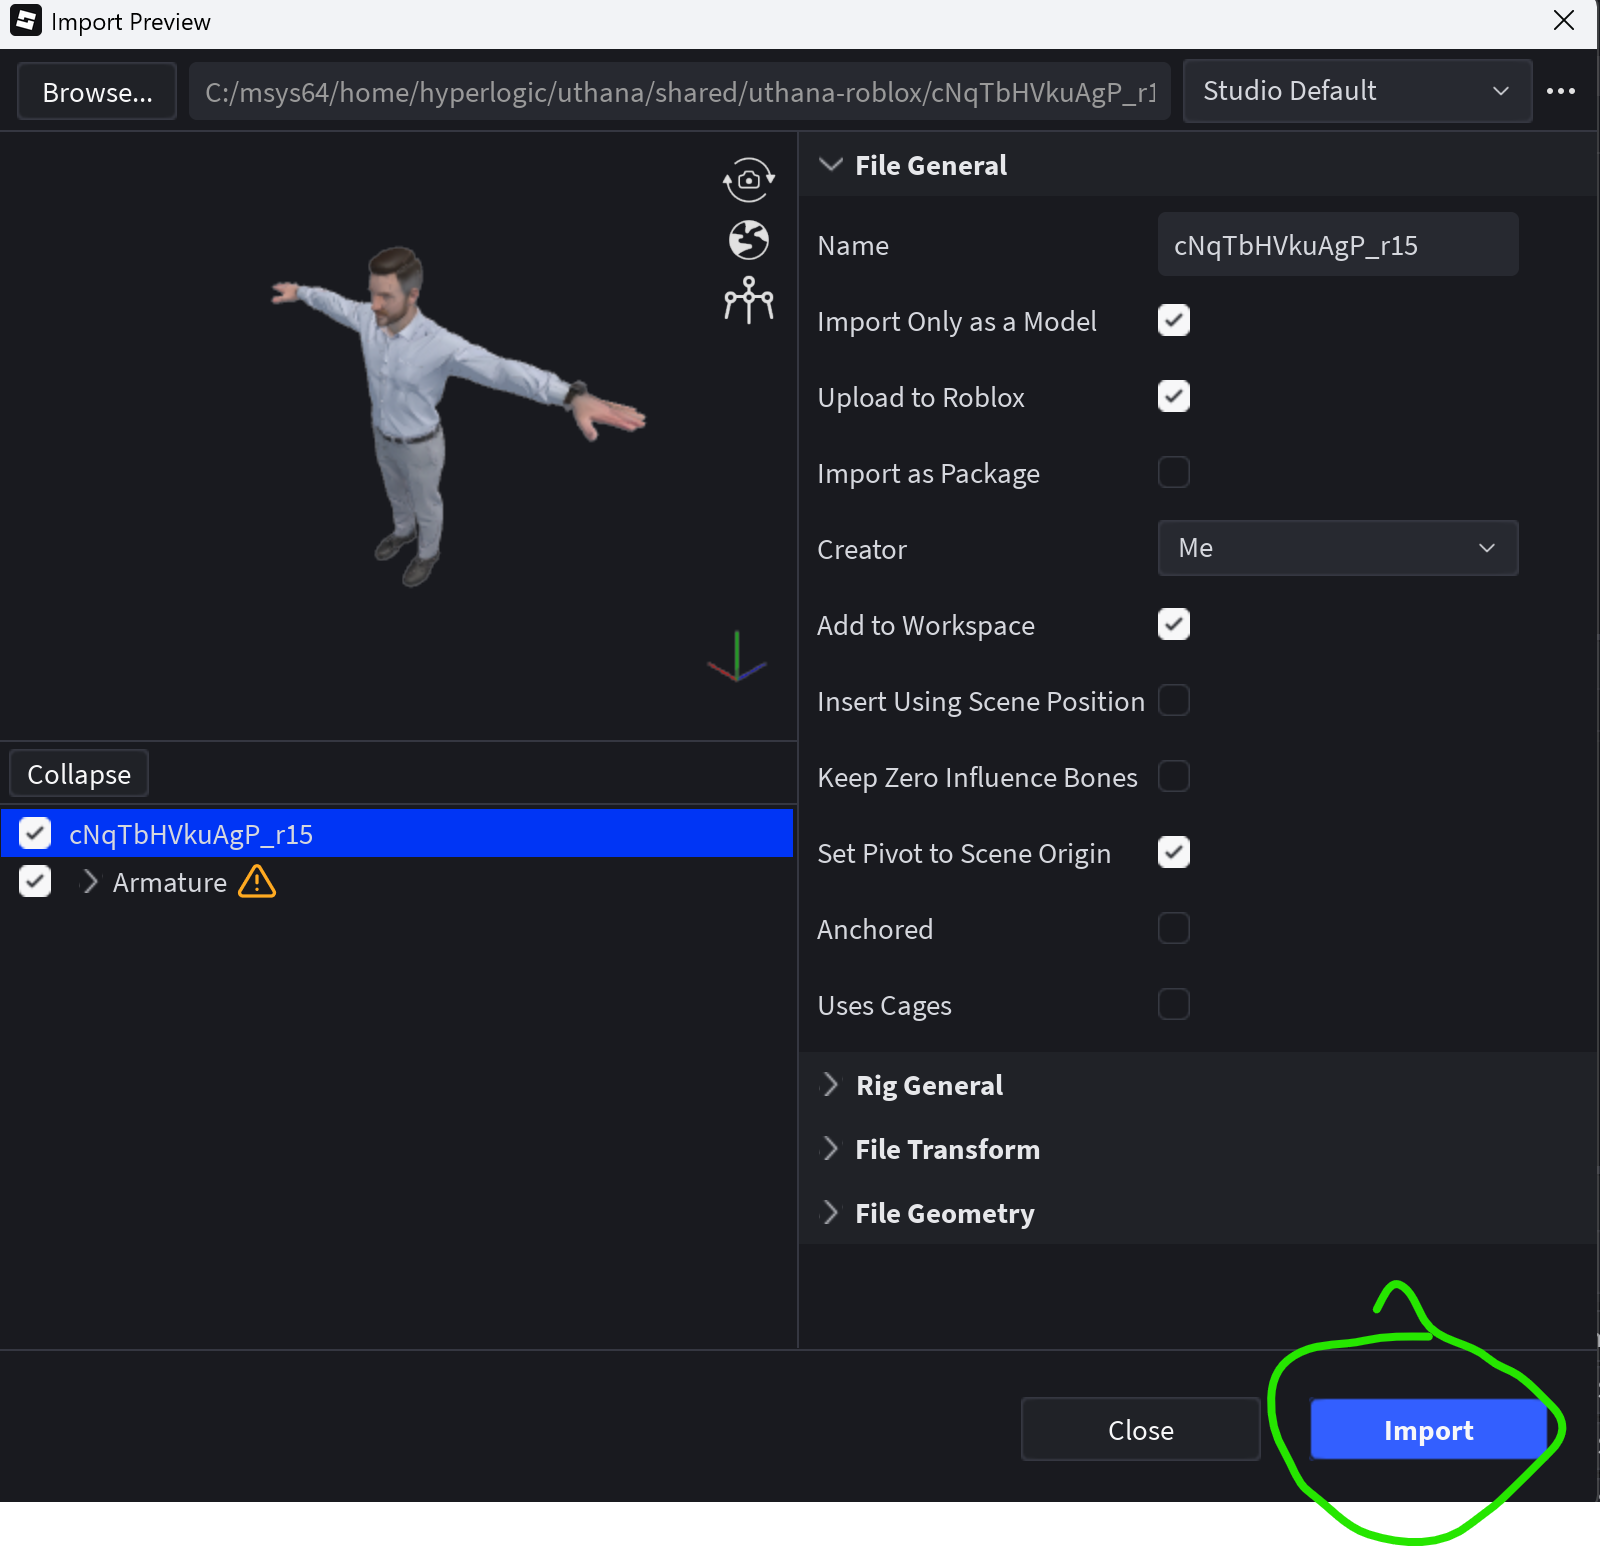
Once the model is added to the scene, you may have to select it. NOTE: The character might be very large in the scene.
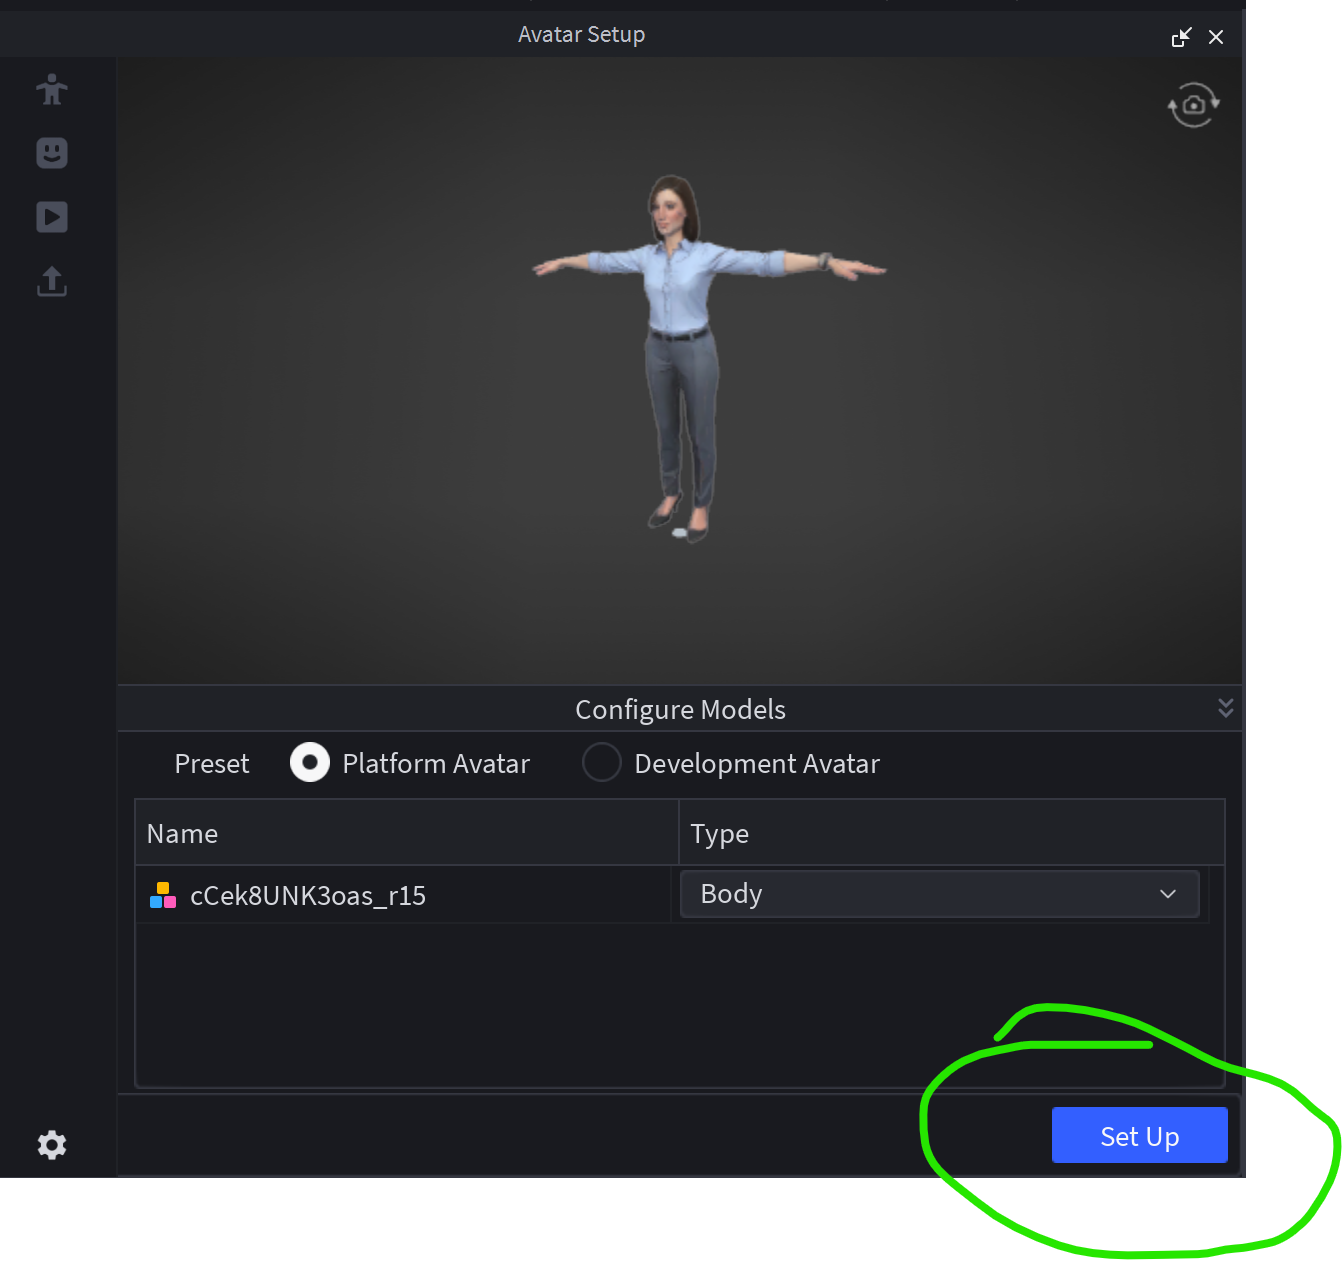
Once selected, click the “Set Up” button in the Avatar Setup panel.
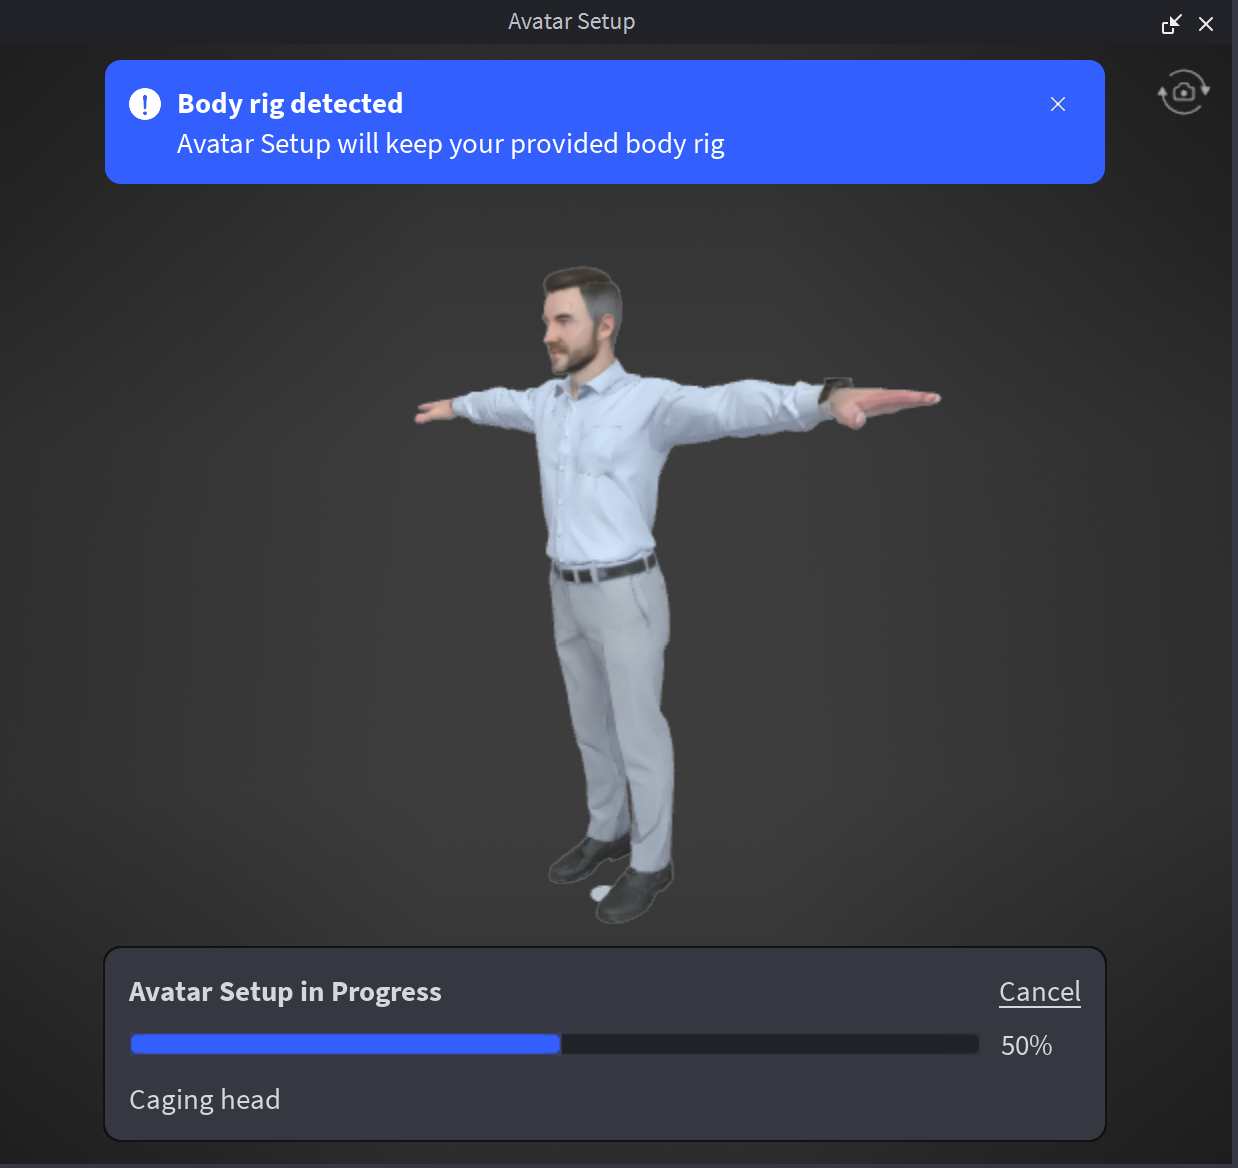
After the setup process is complete, there should be a new Model in the 3D scene, typically ending with the _autosetup suffix. Select this model.
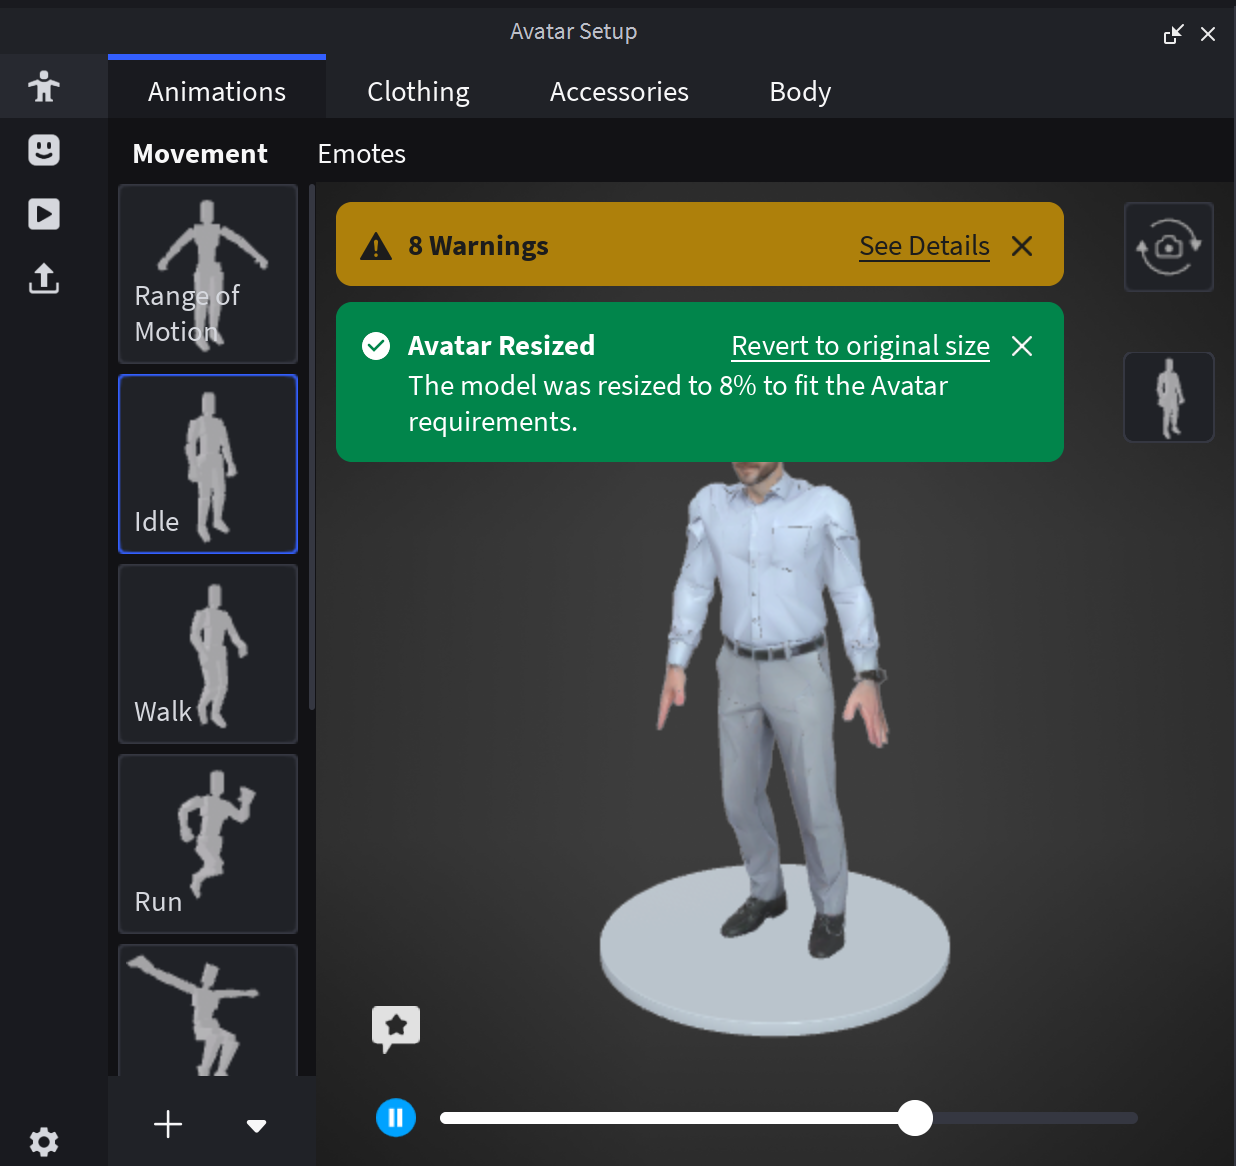
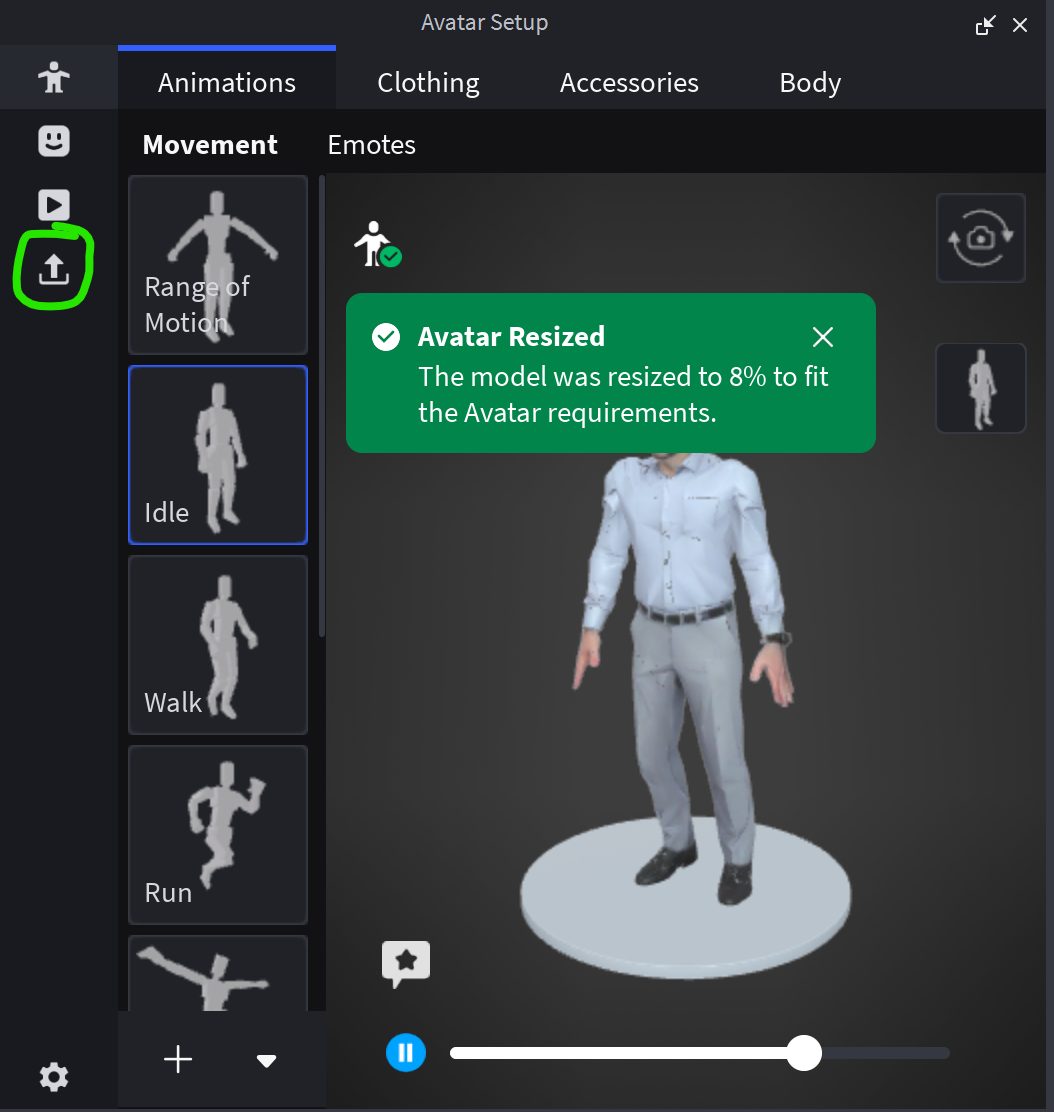
Now the Avatar Setup panel should have many more options on the left tab, including: Check Body, Check Face, Test in Experience, and Submit. You will also likely see Warnings and an Avatar Resized notification.
You can ignore the Avatar Resized notice, but you will not be able to Submit/Upload the avatar until the warnings are fixed.
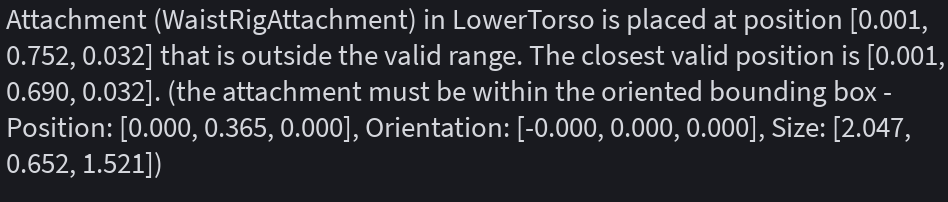
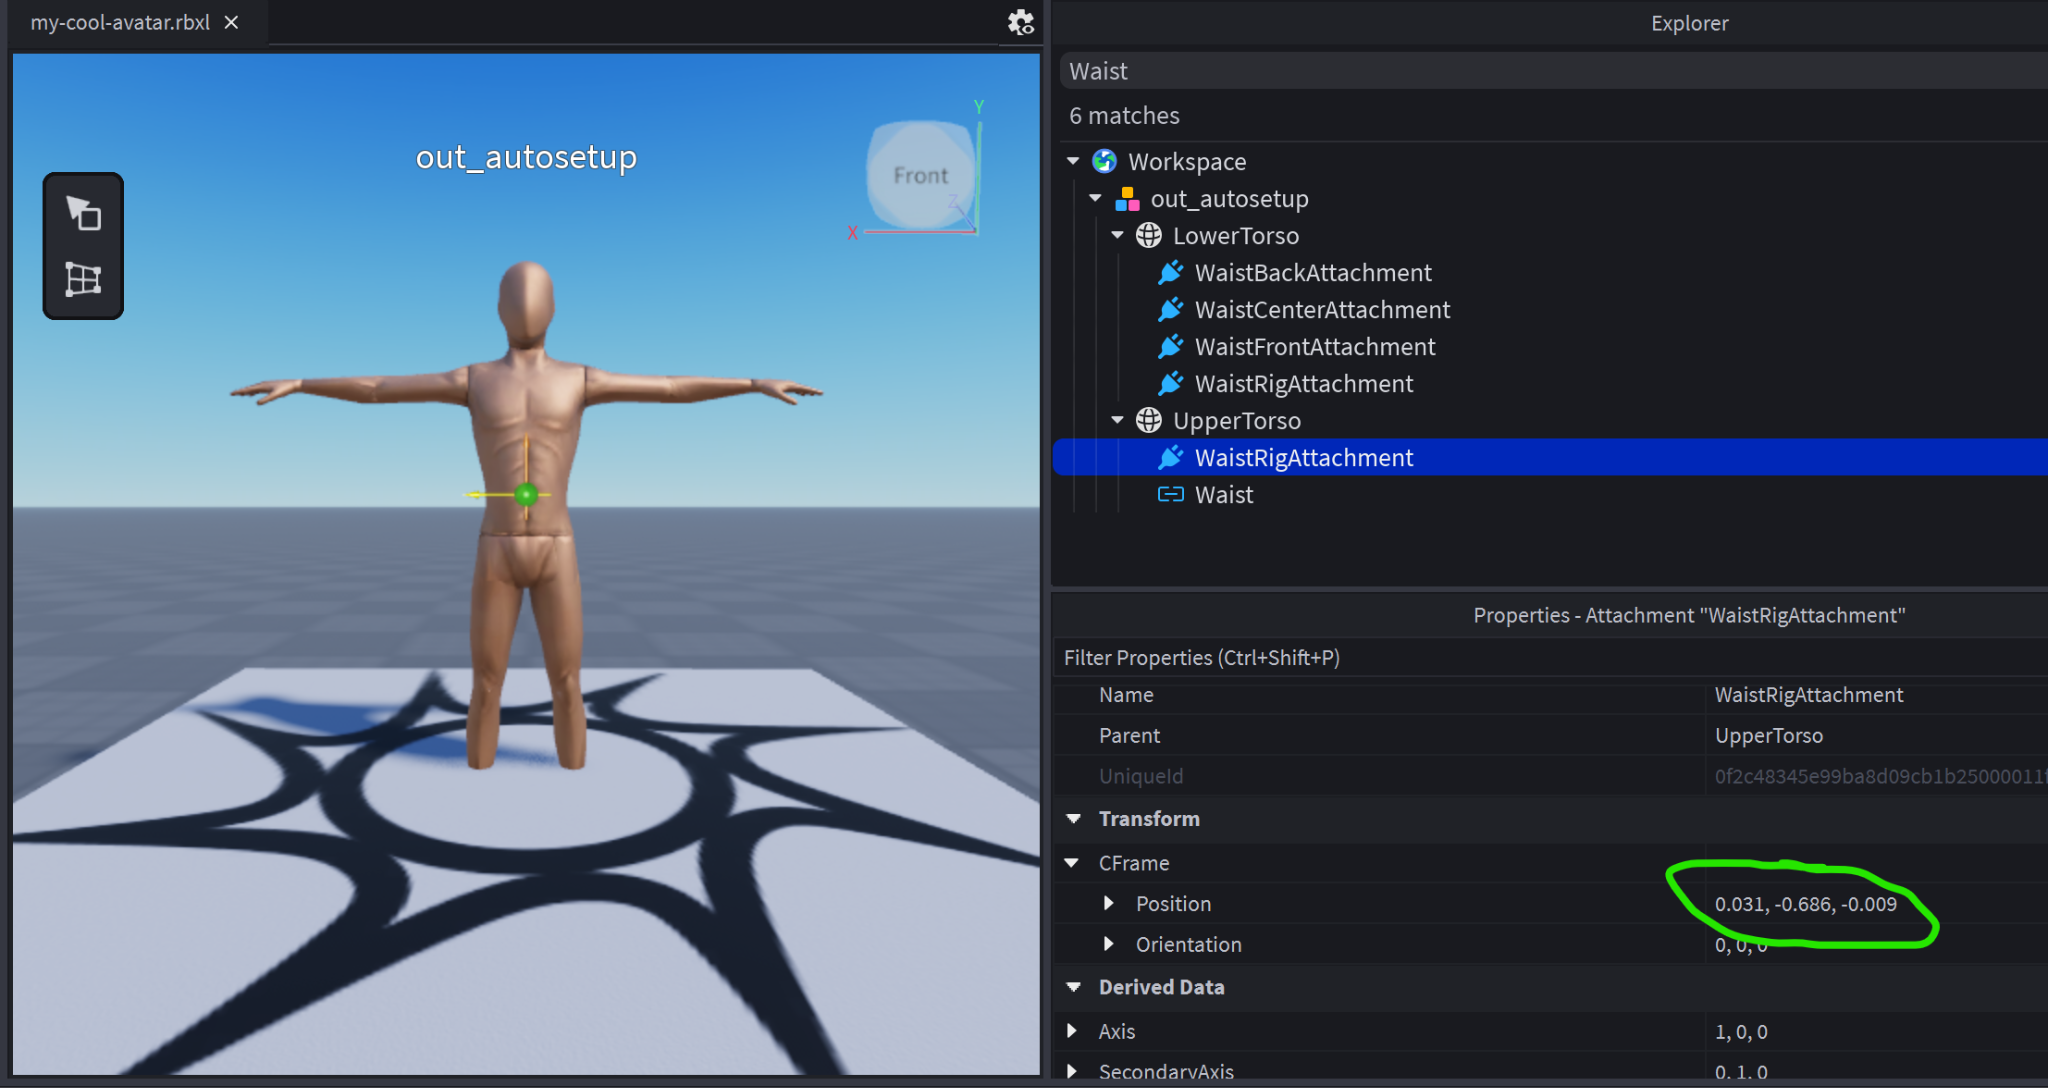
Fix Attachment position warnings by moving the attachment positions into the valid range.
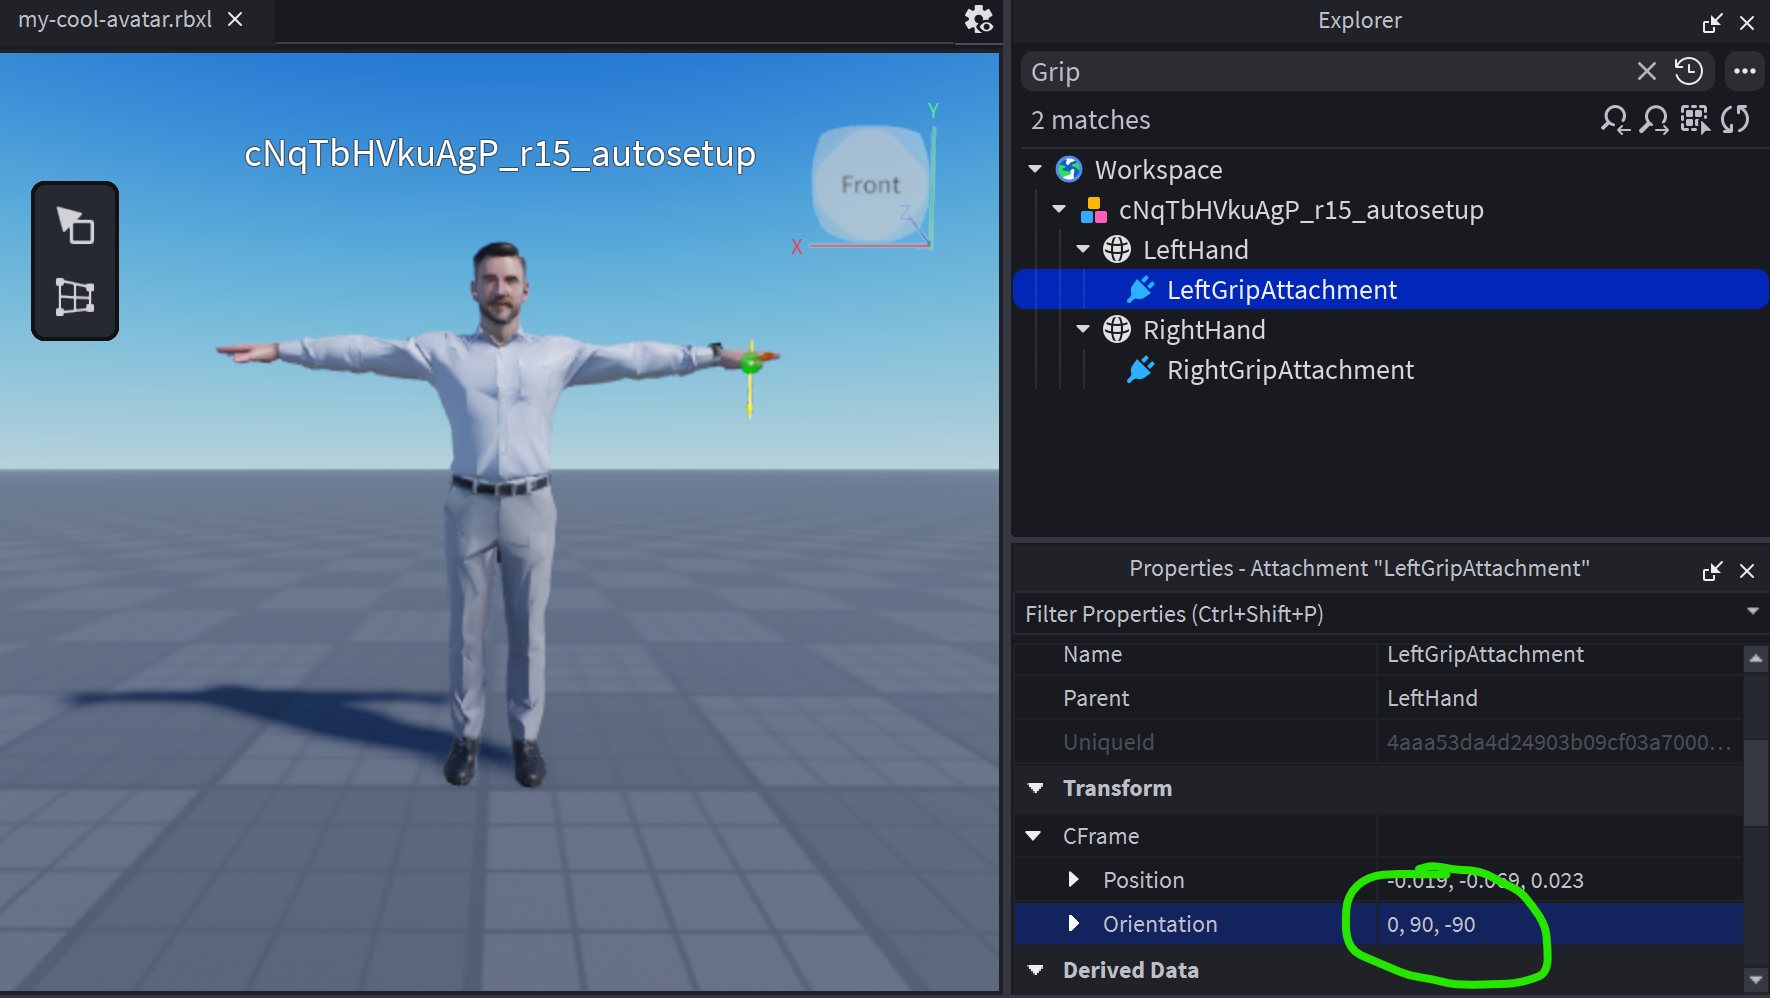
Fix Attachment rotation warnings by changing rotation of the Attachment to the specified value.
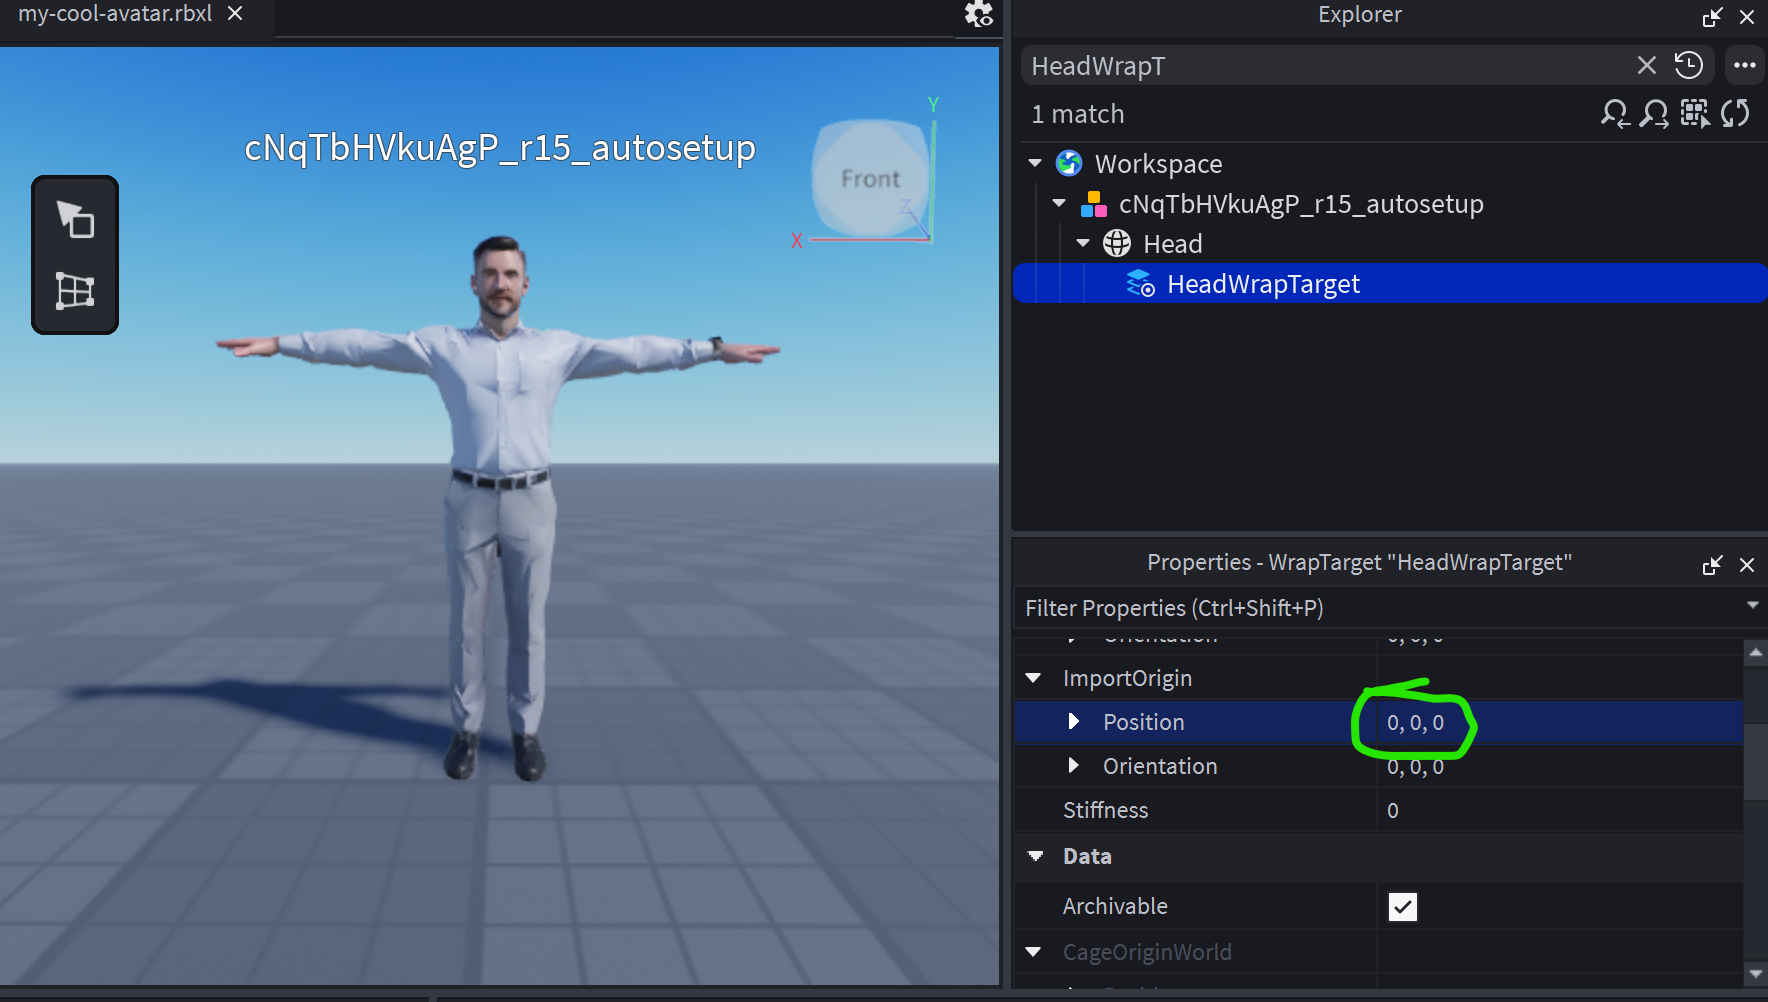
Fix ImportOrigin warnings: by setting the ImportOrigin position of the indicated WrapTarget to 0,0,0
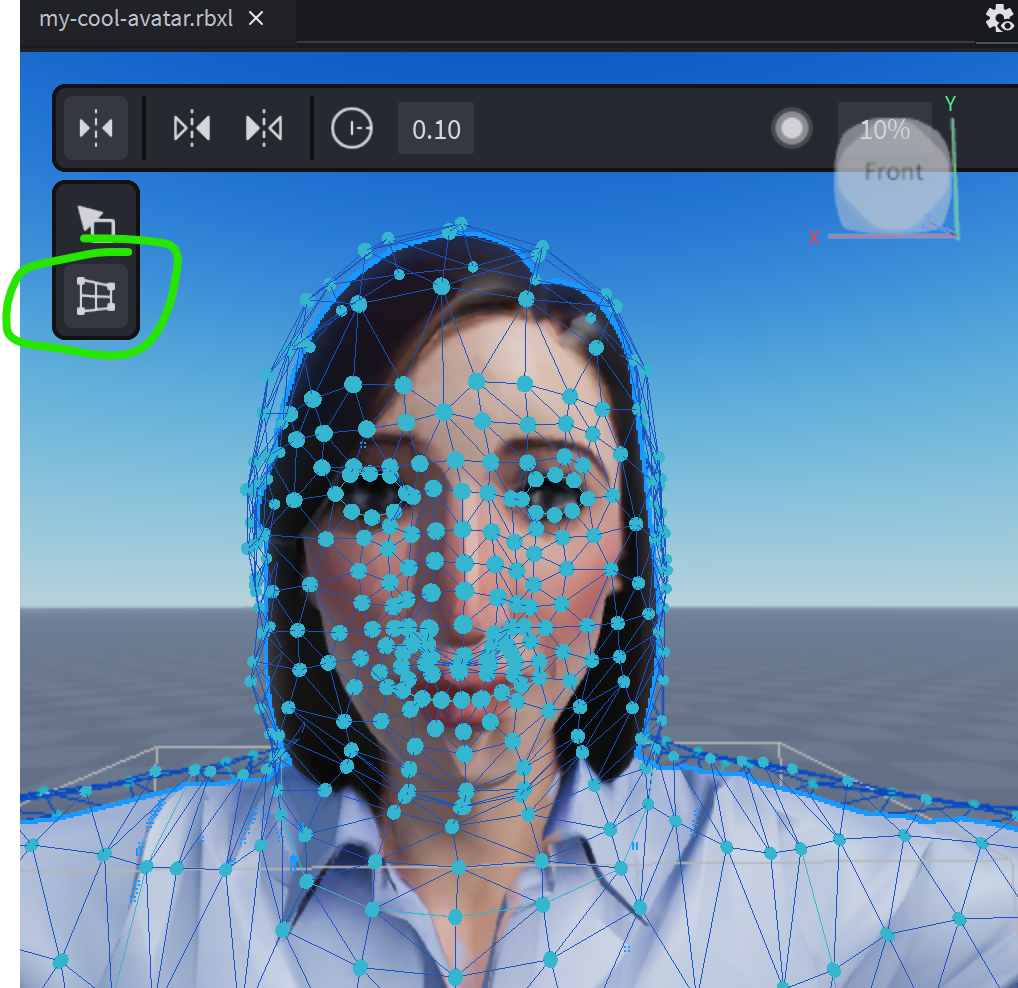
Dynamic Head expression warnings can be fixed by adjusting the outer cage mesh of the face to better match the mouth and eyes of the character. Admittedly, this can be difficult and will take trial and error.
Once all the warnings are fixed, click Submit
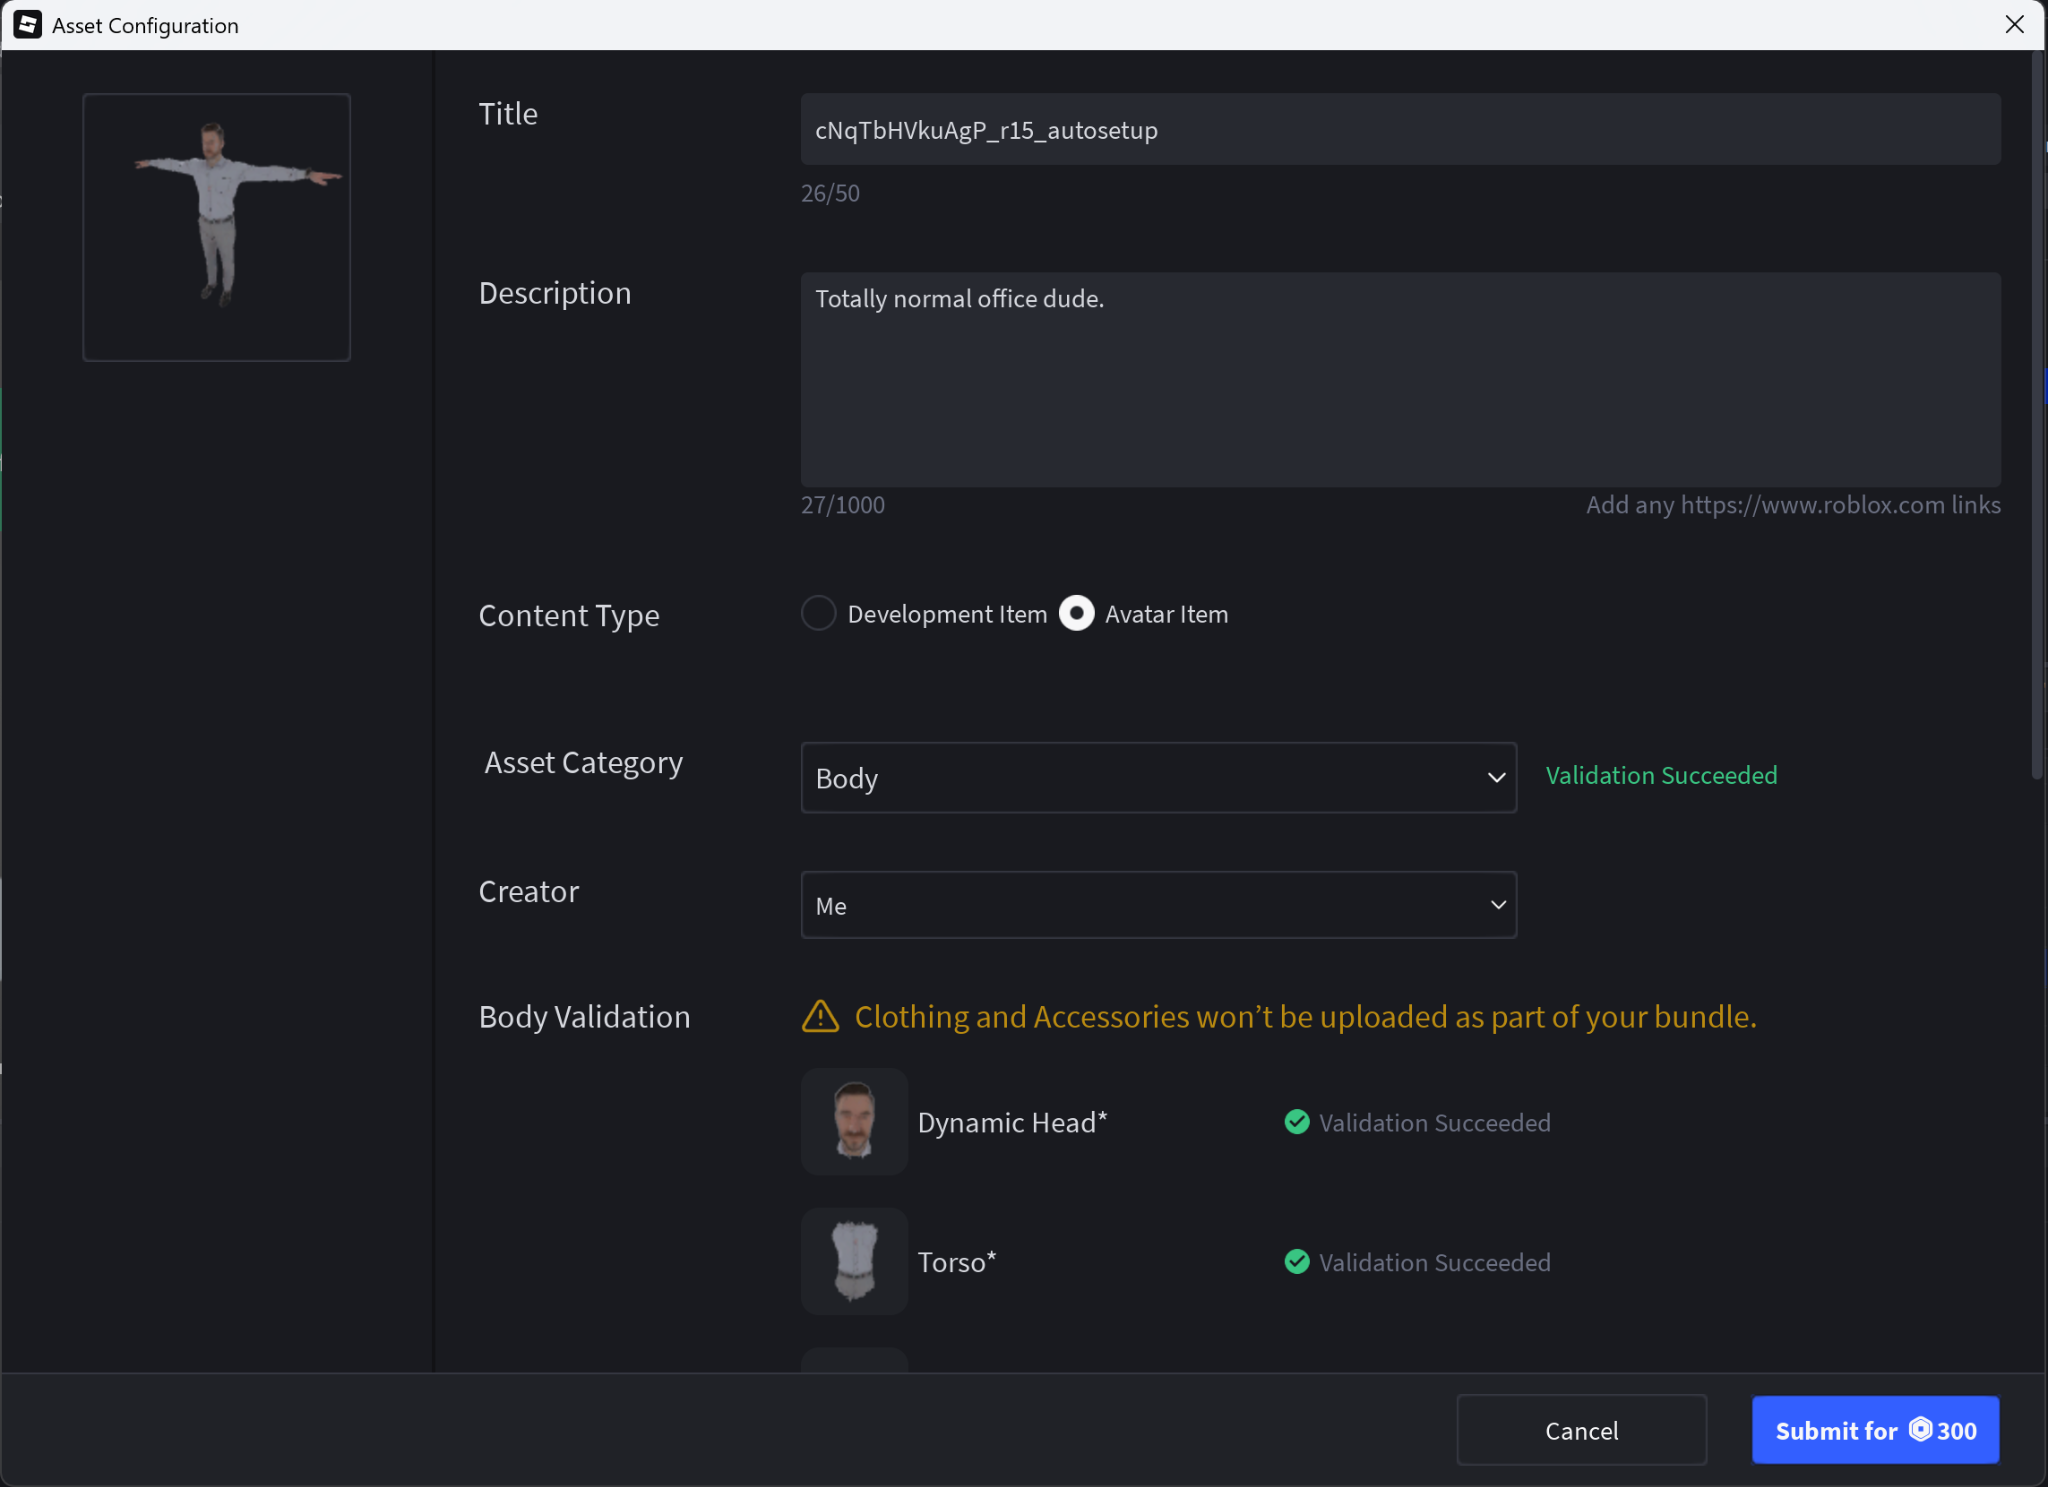
This will bring up the Asset Configuration dialog. Once the validation is successful, click the Submit button in the lower right. It may take an hour or so before the avatar is available in the Roblox
It may take up to an hour before the avatar is available in the Avatar Editor within the Roblox website. Once it’s ready, it will display for you in game.
Have fun creating!
Ready to get started?
Start generating motion today, or work with us on a custom dataset, embodiment system, or simulation program.